Frustrated with your wireless cutting in and out?
Over the next three weeks, we'll explore wireless microphone antennas to help you achieve better, more reliable performance. Today, we’ll start with the basics—comparing directional and omnidirectional antennas.
Understanding the difference between these two could be the key to solving your RF headaches, especially if your venue struggles with poor reception.
Some of the links in this newsletter are affiliate links, which means I may earn a small commission if you purchase through them—at no extra cost to you. These are products I personally use and recommend.
Stock Antennas: The Starting Point
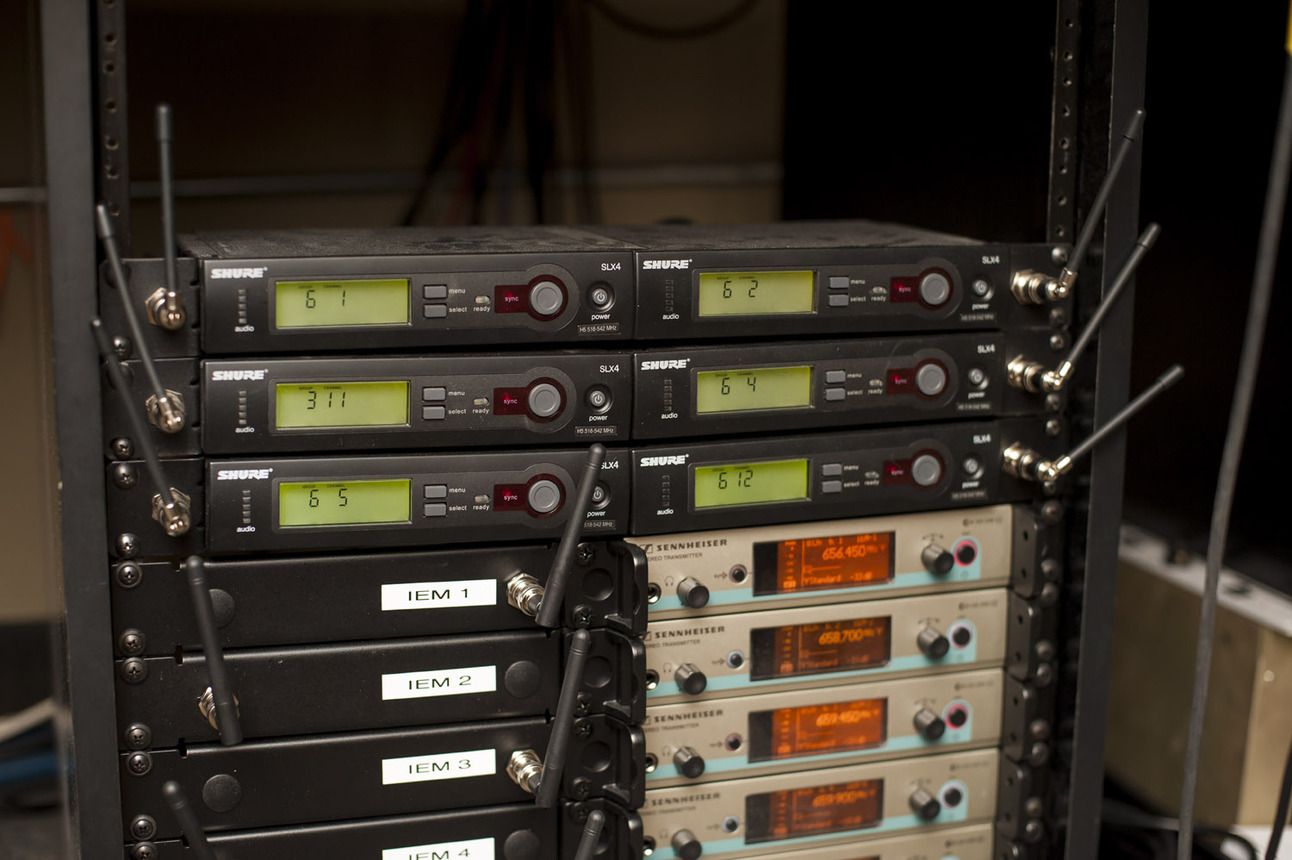
Every wireless system comes with stock antennas. Most of these are small ¼-wave vertical antennas that attach directly to the receiver.
If you're only using one wireless mic, this usually isn’t a big deal. But once you start stacking multiple receivers into a rack, things get tricky—and the biggest culprit? Metal.
Wireless receivers are typically rack-mounted, and those metal rack ears, along with the entire metal chassis of the equipment, can block and reflect RF signals. This leads to multi-path interference, where signals bounce around unpredictably, causing dropouts and unstable performance.

And if those antennas are stuck in the back of the rack next to power cables, audio lines, and even network connections? It gets even worse. These cables can interact with the antenna’s signal, changing how it receives RF and degrading your wireless performance.
Bottom line: Stock antennas inside a rack fight against metal and interference, making them a weak link in your wireless setup.
A Better Omnidirectional Antenna
One simple upgrade is switching to a ½-wave omnidirectional antenna and moving it outside the rack—away from metal and interference. This instantly gives you a cleaner and more stable signal.
Since it’s omnidirectional, it picks up RF signals in all directions. But placement still matters!

A couple of solid omnidirectional options:
✔️ Sennheiser A1031-U
✔️ Shure UA860SWB
💡 Keep the antenna straight up and down. Reception is weakest at the top, but strongest on the sides.
Directional Antennas: The Best Option

If you want the best wireless performance, directional antennas are the way to go. These antennas focus their sensitivity in one direction, reducing background RF noise and improving reception from your microphones.
With a directional antenna, your receiver receives a stronger and cleaner signal from the mic while eliminating interference from unwanted sources.
Check out this comparison:
🟢 Directional antenna = Lower background noise, cleaner signal
🔴 Omnidirectional antenna = More background noise, more interference

The above image shows the reception of background noise between an Omni-directional (red) and a directional antenna (green)
This noise reduction prevents your receiver from being overloaded by interference, which means fewer dropouts and more reliable performance.
Two great directional antenna options:
✔️ Shure UA874
✔️ RF Venue CPB Beam Antenna
Mix & Match Your Wireless Gear
Here’s one of my favorite RF notes: Your wireless microphones and antennas don’t have to be from the same brand.
You can mix and match antennas, RF splitters, and combiners from different manufacturers as long as the frequency range matches.
For example, if you’re using a VHF wireless microphone, make sure the antenna is also VHF-rated. If your system runs in UHF, check that the antenna supports that frequency range.
Most antennas list their frequency range, like the Shure UA874, which works between 470 and 698 MHz. That means it’ll work with any wireless microphone operating within that range.
Up Next: Antenna Placement
Now that we’ve covered antennas, the next step is proper placement—because even the best antenna won’t work well if it’s in the wrong spot.
Next time, I’ll share best practices for antenna placement to maximize your wireless performance.
Stay tuned,
Drew
Whenever you're ready, there are three ways I can help you:
I created a range of Preset Library Downloads that will help your team get professional-quality audio without the hassle of starting from scratch. Each product includes .pdfs with full documentation on how to use the preset and why each setting was made.
If you’re looking for a start-to-finish way to get mixing on the Behringer X32, join my X32 Fundamentals Course. In this 6-hour self-paced video course, I’ll guide you through the five fundamentals that will help you go from overwhelmed to confident when mixing on the X32.
For hands on help, schedule an Online Coaching Call with me, personally. Online sessions provide the flexibility to access personalized support while sitting in front of your own equipment and working in real time.